This popular Samsung Frame TV installation guide teaches you what you really need to know about how to install a Samsung Frame TV (that you won’t find anywhere else).
We learned A LOT during this process ourselves and are here to share our best tips and tricks with you after A LOT of research and troubleshooting. We have now successfully helped thousands of readers with their DIY installation!
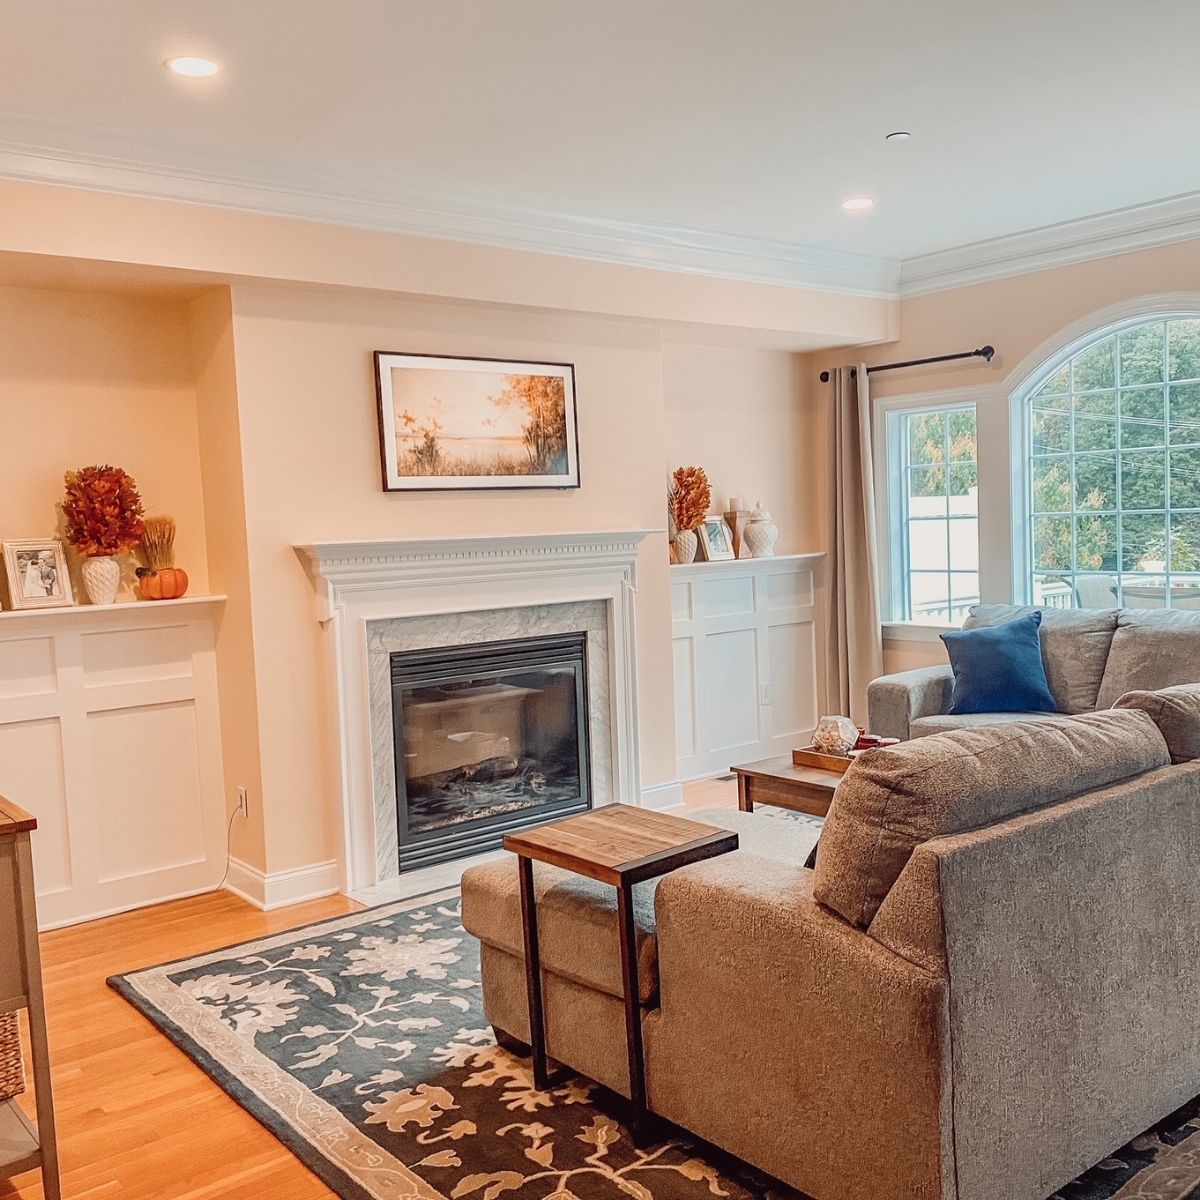
DIY Samsung Frame TV Installation Guide
Step Zero: Purchase your Samsung Frame TV.
The Samsung Frame TV is unique in that it is super slim, can be mounted completely flush onto a wall, and, when not in use as a TV, it can display digital art (with or without digital matting) at dull settings with less glare than a standard TV. This way, it appears like a real piece of art instead of a big black square on your wall.
The way it works behind the scenes is that you snake the wire through the wall and then connect the wire to the One Connect box, which can be housed anywhere. (In our bedroom, it hides under our dresser, and in our living room, we hide it inside a console table on a side wall.)
I bought two TVs for my husband for his birthday in 2021 (one for our living room and one for our bedroom.) The exact models I purchased are:
- SAMSUNG 43″ Class 4K (2160P) The Frame QLED Smart TV QN43LS03 2021
- SAMSUNG 32″ Class The Frame Full HD QLED Smart TV with HDR QN32LS03TBFXZA 2020
I purchased them from Walmart because I wanted to be able to return them to a local store if there was a problem instead of shipping them back, and Walmart had the best prices at the time.
CHECK CURRENT MODELS & PRICES OF THE SAMSUNG FRAME TV:
Related Post: Full review of the Samsung Frame TV
Step 1: Do your research.
We did a substantial amount of research prior to installing our Samsung Frame TV, and it really helped. Each model year is different in terms of its wall mounting hardware, so the installation can vary for that reason.
Also, there are certain things you will want to be prepared to troubleshoot, and the more you research, the more prepared you are to get it right.
This Samsung Frame TV installation guide aims to tell you the things we learned that we couldn’t really find anywhere else and that we had to troubleshoot on our own. The instructions/user manual that comes with the TV are really not very helpful.
We also found YouTube videos really helpful, and we watched tons of them! Here’s one directly from Samsung:
That being said, the YouTube videos don’t really tell you everything you need to know, especially since most of them were made by professionals who gloss over some issues that non-professionals like us ran into. For example, our boxes did not include the same components we saw in the videos.
That’s why we decided to create this Samsung Frame TV installation guide!
Step 2: Decide whether to get professional help or DIY.
Now that you have an idea of what’s involved in getting this TV hung on the wall, you should seriously think about whether you prefer professional help. The couple hundred bucks can really be worth all of the time, research, and troubleshooting it can take to install your Samsung Frame TV. It definitely requires a lot of effort.
If you think you want professional help, give Best Buy a shot. My in-laws use them all the time for electronic services.
We are not pros by any means and did it ourselves, but it definitely took a lot of work.
Either way, you will still want to review this Samsung Frame TV installation guide because you may need additional accessories for installation as we did.
Step 3: Take a close look at the mounting hardware in your particular box.
We found the materials that came with the Samsung Frame TV to be really confusing. It appeared that we were missing pieces from both boxes, which perplexed us since they were different models, and I even had to contact customer support. I spent an hour or so on the phone with Samsung trying to troubleshoot (to no avail).
In short, if you open the box and look at the Samsung paperwork that shows you what comes in the box and are wondering where pieces “J” and “L” are, as we were, “J” is a paper diagram you hang on the wall to help you place the brackets more easily. “L” appears to be stickers to hang it, which we never located, but we just used painter’s tape.
As I mentioned above, the mounting hardware may also vary by model year, so you need to be prepared that your hardware may look different from one you saw someone else install during your research.
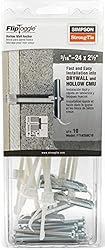
Note: If you’re looking for a “kit” you saw come in the box on a YouTube video, we can clarify — we get a lot of questions about this! The TVs we bought did not come with a “kit” as shown in the YouTube videos either, and we initially thought we were missing something. But, Samsung has come out with a variety of interactions over the years. Our versions ONLY came with the 2 small wall plates you see pictured on our wall in this post. The downside to these plates is you’re likely not going to land on a stud, so it’s critical that you use your own heavy-duty anchors (these are a bestsellers with our readers).
Step 4: What you need to buy before you hang the Samsung Frame TV
The biggest tip I learned about how to install the Samsung Frame TV before actually doing so is that the wire it comes with is fiber optic and technically does not meet fire codes if you place the wire in the wall, which most people do, since the whole purpose of this tv is to hang it flush and have it appear like actual art with no wires showing.
So, what you need to do is either purchase a coated fiber optic cable OR run the wire through a conduit for safety reasons. We tried both, and I discuss them both below.
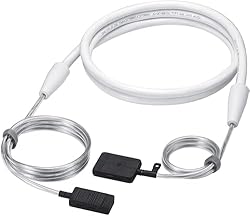
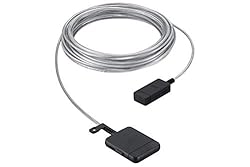
Option 1: Samsung 8K 5M One Connection in-Wall Cable (98″ and Below)
We first purchased this Samsung 8K 5M One Connection in-wall cable (98″ and below). It’s not cheap, and quite honestly, we did not like it. It gets some good reviews on Amazon, but the way it’s designed, your TV will never be absolutely flush against the wall.
Also, after we went through the whole process of installing it, it didn’t plug into our particular TV! So, if you choose this option, you will want to test it out with your TV before installing it.
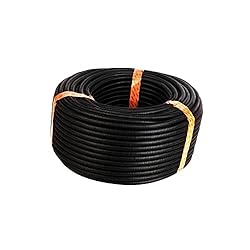
Option 2: Cover the wire with a conduit.
As a backup option, my husband had purchased some conduit, even though we thought it would be hard to snake it through the wall. It ended up working really easily!
One snafu we had was that the plug of the wire is quite large and didn’t fit through the conduit size he purchased. However, we cut the conduit open and slid the wire in through the slit instead of snaking it through, then taped it shut. That actually worked really well!
The conduit does come in various widths, though, so you can pick the size that works best for your wire and plug.
If you use conduit, you will also need to tack it to a stud or something else at the two wall openings. This is not as bad as it sounds, I promise. More about it later.
More Accessories That Will Help You Install the Samsung Frame TV
Fish Tape Wire Puller
This specific fish tape wire puller helped us snake the wire through the wall. Honestly, it made it a breeze, and so I highly recommend it if you don’t already have one.
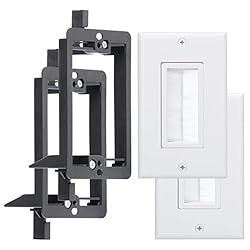
Wall Plates
We used these specific wall plates to cover the holes we made in the drywall in order to snake the wire through.
High-Quality Anchors
A bestseller with our readers
My husband was not pleased with the quality of the screws and anchors that came with the Samsung Frame TV, so he purchased and used these specific bestselling anchors to hang the TVs on the drywall with confidence.
Optional: Samsung Cable in a Longer Length
If you are snaking the wire a long distance as we were in our living room (from over our fireplace to the ground, then across half a wall, then down another half of a wall to a console), you are going to need a Samsung wire cable in a longer length. My husband purchased this specific long-length cable even though it did not appear to be compatible with our TV, but luckily it worked for us.
Step 5: Measure carefully.
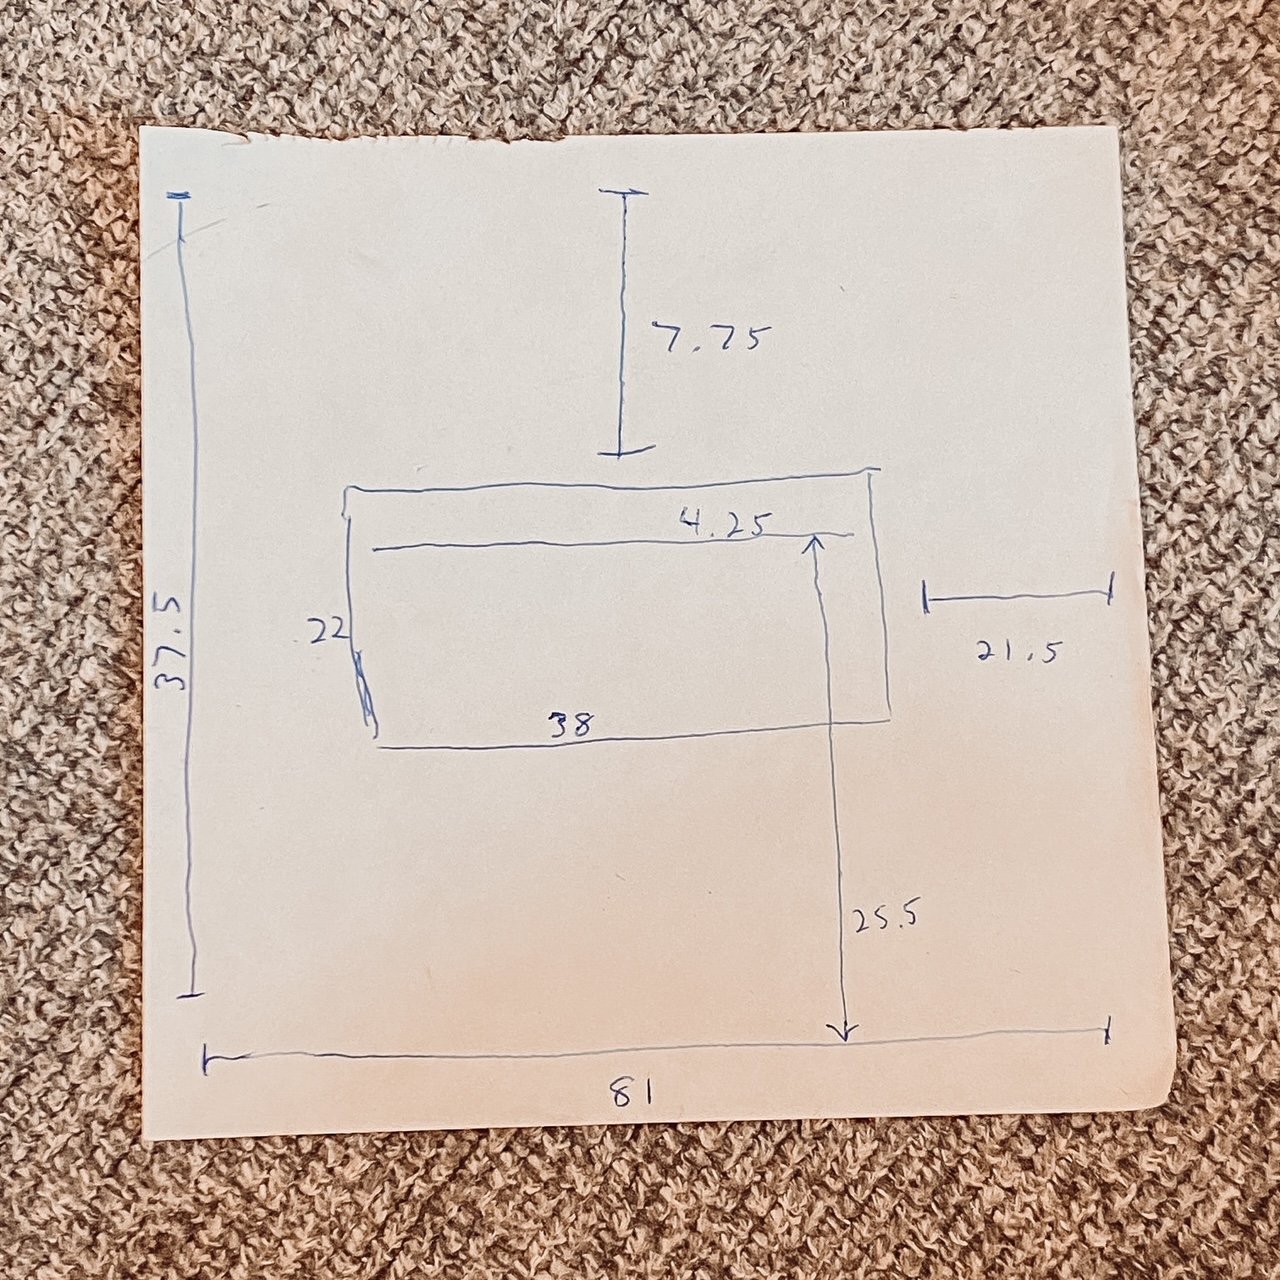
My husband had the measurements really carefully mapped out before we made any cuts. You really want to have a solid idea of where everything will go and how the Samsung Frame TV will match up to it when you hang it.
He also taped up onto the wall the picture diagram of the brackets that came with the Samsung Frame TV before making any cuts (see picture below). This shows you exactly where your brackets will eventually be installed. Make sure to use a level to level it!
Also, he used a stud finder to be sure where the studs were so that he didn’t try to cut a hole into one.
I highly recommend you do the same. It just takes some patience and thought, but it will be worth it.
Step 6: Make your cuts.
This step is pretty self-explanatory. My only added tip is to cut carefully. In our bedroom, there was a wire behind the drywall that my husband almost hit. Eek!
Step 7: Feed the cable.
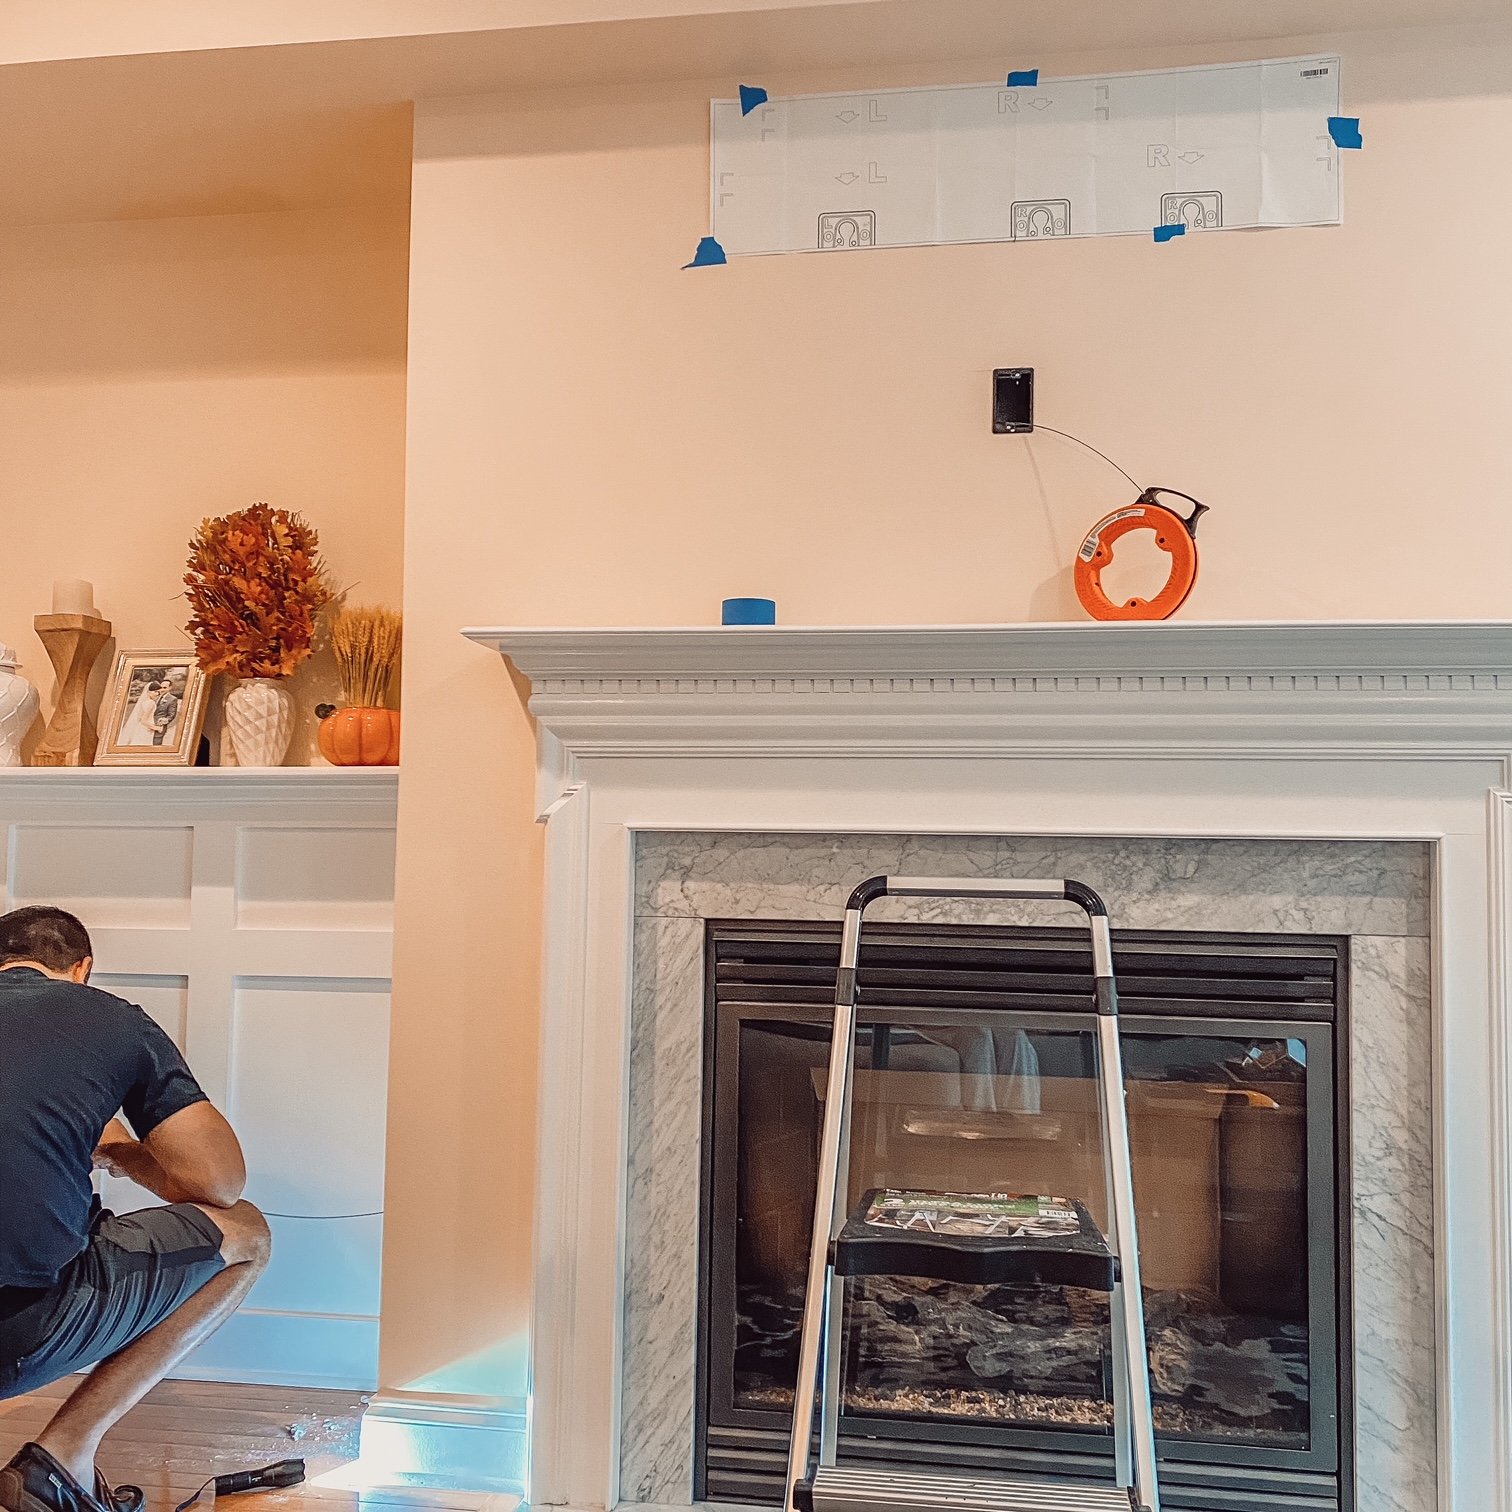
We then placed the wire in the conduit for fire safety reasons (see above) and snaked it through the wall. Also as mentioned above, we used a fishing wire to feed the cable through the wall, and it really wasn’t too hard. It only took us a minute or two.
In our bedroom, my husband was able to tack the conduit to a stud with a screw. In our living room, there was no stud next to our wall openings, so he tacked it to the wall plates we used to cover the holes in the drywall. It was not as hard as it sounds!
Step 8: Install the wall mount.
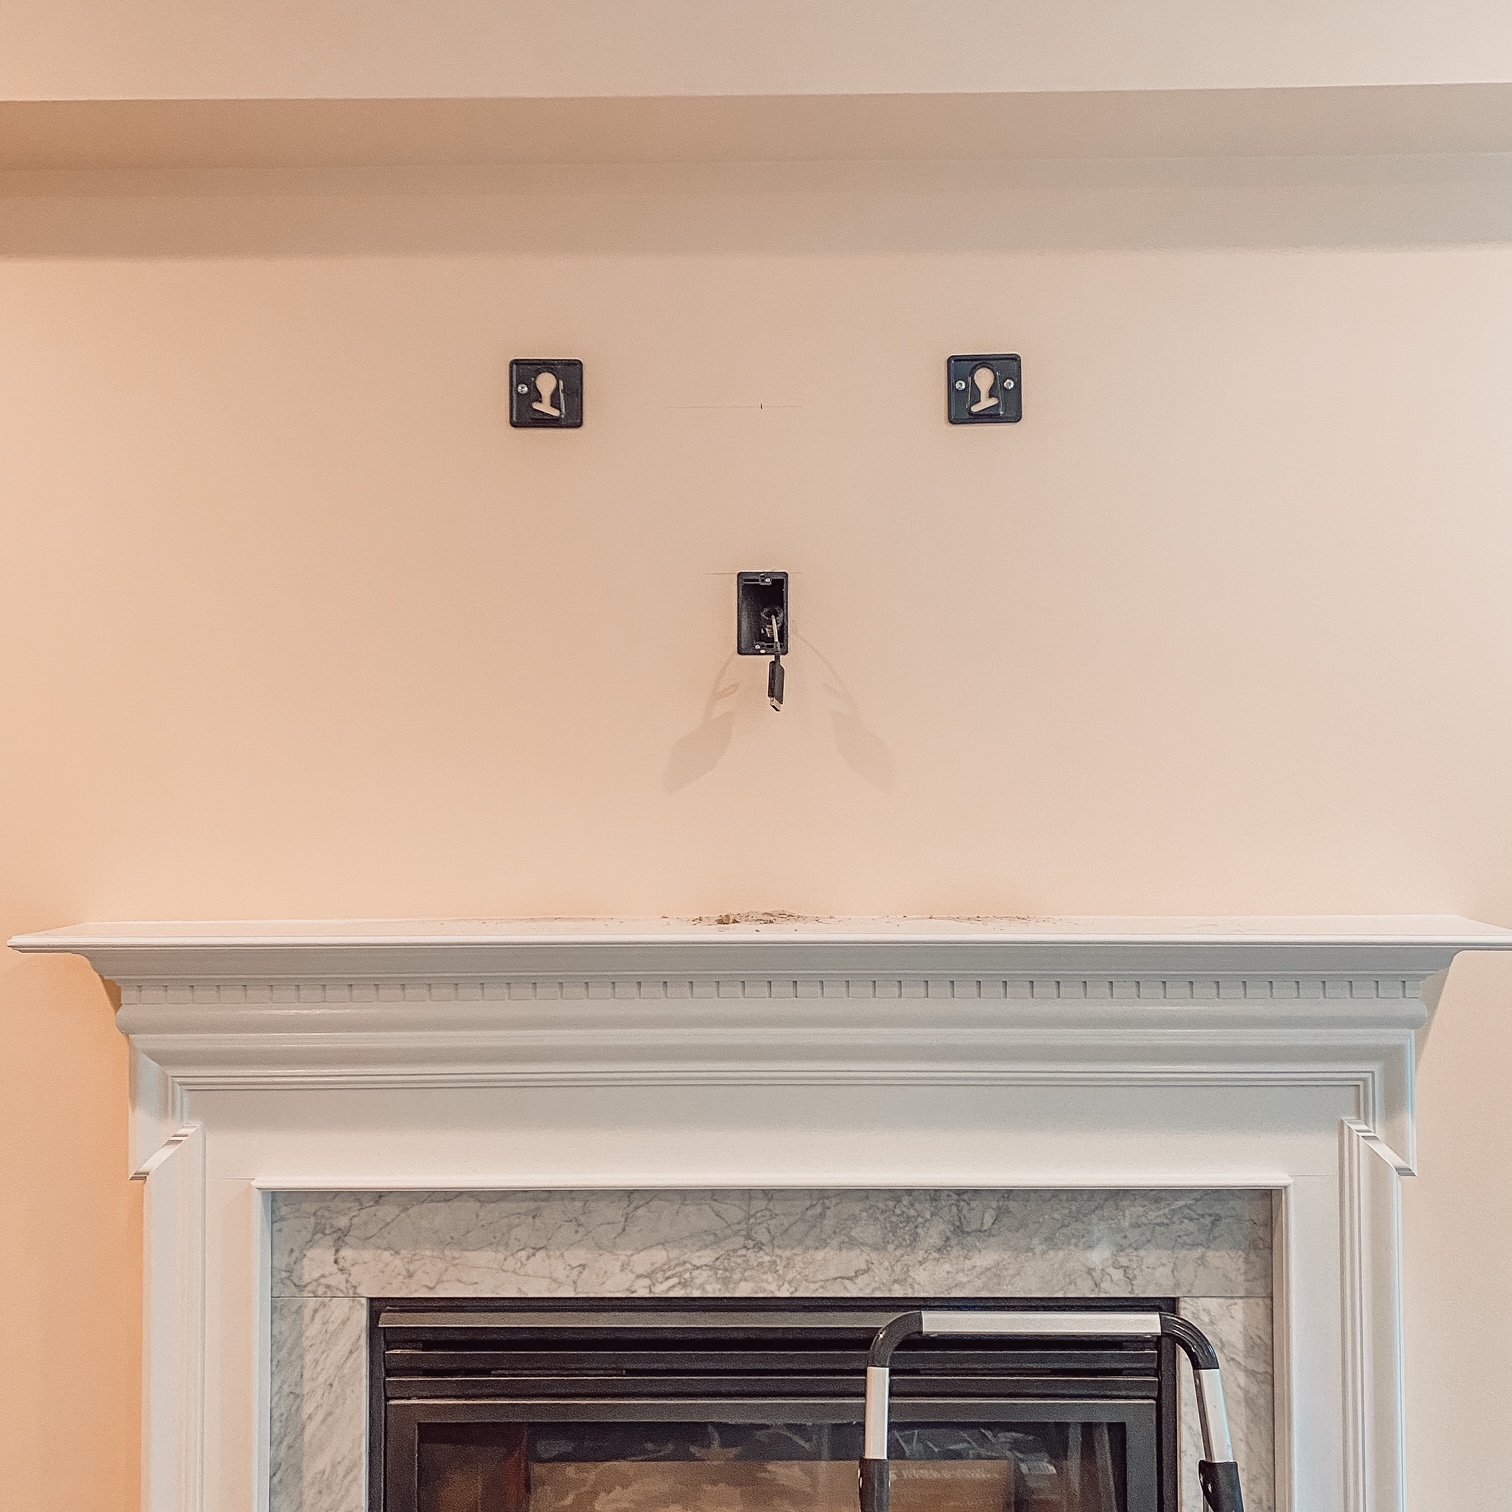
Next, my husband installed the wall mount accessories that came with the Samsung Frame TV. For our particular models, he placed two screws on the back of the TV and two brackets on the wall, using the picture diagram that came in the box for guidance.
Step 9: Hang the Samsung Frame TV.
This is the fun and easy part! The Samsung Frame TV was really easy to snap right onto the wall brackets. It just fit right in like a breeze.
Next, say a little prayer or think a positive thought and test the TV. If it works, YOU DID IT!

Step 10: Customize your digital art.
Now, you may want to customize the art on your TV. I did! While there are a few options that come with the TV, I like really seasonal art. I purchased a few pieces of digital art quickly and cheaply on Etsy after specifically searching for “art for Frame TV.” You definitely want to make sure the art you purchase is sized properly for the Samsung Frame TV.
The pieces of digital art I personally purchased are listed below:
Or, learn how to get and install free art for the Samsung Frame TV. (5 free downloads are included!)
Or, purchase one of the best Samsung Frame TV digital art downloads on Etsy.
You can also play around with the settings on the Smart Things app so that it appears dull enough to pass as art but still bold and colorful. I also used the Smart Things app to set the art to detect motion and pop on via sensor when you walk into the room.
Optional Step 11: Add a Deco TV Frame
The Deco TV Frame fits right on top of your Samsung Frame TV for easy installation and the most gorgeous appearance of ACTUAL artwork — not a TV! We truly feel the Samsung Frame TV is simply not complete without a Deco TV Frame, and that it’s worth every penny. It’s something that *sparks joy* for us on a daily basis.
I mean, just look at the difference in these before and after photos:
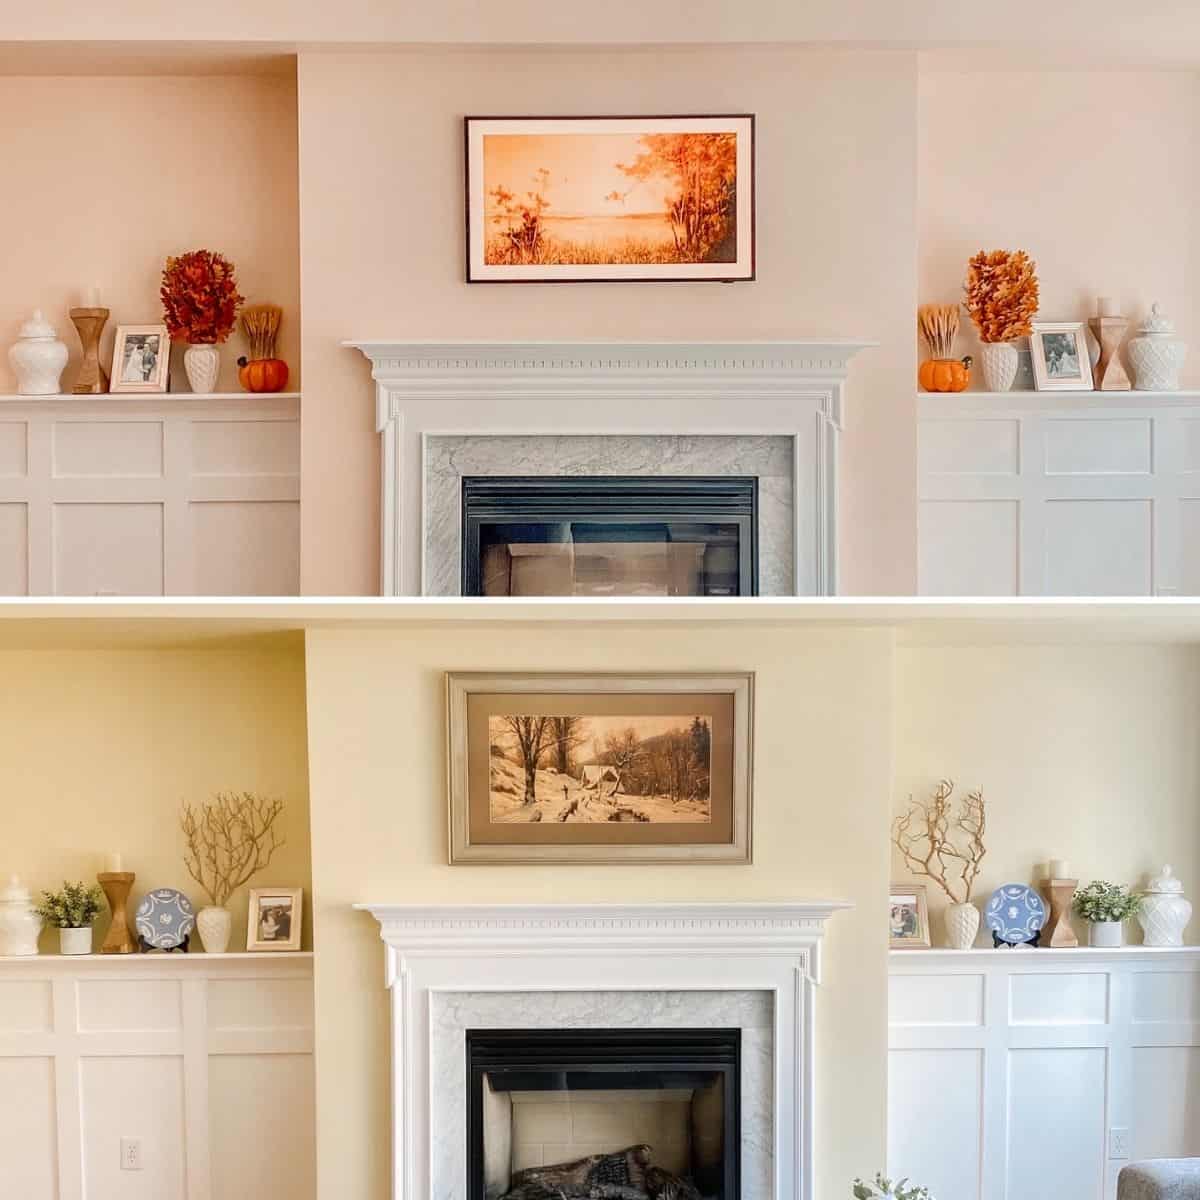
Watch this one-minute video to see exactly how easy it is to install:
Special Offer: Get free Frame TV art from the Deco TV Frames art store.
Frequently Asked Questions
Yes, the Frame TV comes with a wall mount.
However, based on my experience, I recommend additional accessories that make installation easier and safer below.
The Samsung Frame TV is worth it if you really want your tv to look like a piece of art and you don’t mind that it costs a lot more than other tv’s (plus the installation time and costs) and that, while it’s a very high definition and high-quality tv, it is still not the absolute highest quality tv on the market currently.
Conclusion
At the end of the day, I do feel like the time and monetary expenses were worth it to buy and DIY install the Samsung Frame TV, especially in our living room — the focal point of our home. We really highly value the style of artwork being displayed when the TV is not in use, and that’s really what it comes down to when you are deciding whether the Samsung Frame TV is worth it for you.
I hope this Samsung Frame TV installation guide was a really helpful resource for you from our own experience as total non-experts working our way through the process and wanting to share what we learned.
SHOP THE POST




What diameter conduit should I use for the cable? I want the end connections to pass through easily.
We actually used a smaller one– about one inch. We cut it open and slid the wire through because we couldn’t fit the ends of the cable through.
We just got a 43″ Frame and these tips will be helpful, thank you for sharing them! We couldn’t figure out where/what part “L” was either, so your explanation they are stickers and painter’s tape can be used instead was helpful right off the bat! One question, your post mentions you hid the OneConnect box in a console table in your living room, I don’t see that anywhere in the photos. I’m trying to better understand how you hid the box, can you explain more?
The “L” thing was basically what inspired us to write this post! It took us so long to figure out that we wanted to share the info with others. As for the console, in the first picture, you can see it a bit on the left side (it’s grey). If you look at the bottom of the wall near the fireplace, you will see the cord running out of the wall and over to the console. My husband then cut open the back of that console and that’s where we store the One Connect box. Hope that helps!
Thanks Jules. Your tutorial will be so helpful for people. The biggest frustration we had was as you’ve mentioned – all of the videos, Samsung or public, don’t match all versions of the TV out there. It’s worth it though. We’re really happy and getting ready for our main living area with TV #2.
Jules – I actually read this article when first researching installation. Now all this time later we want to hide the one connect cable and here I am again. I’m surprised how few guides there are about this as opposed to hiding the box behind the tv, a popular solution that is unfortunately not an option for us.
My question is, did you connect the conduit to a box and then use a faceplate? I’d love to hear more detail about that part.
Thanks,
Joel
Hi Joel, glad the post has been helpful. We created it after having the same frustrations ourselves, and it’s always a joy to help someone out once you figure something out. Anyway, I consulted with my husband to be sure, and he said, yes, he screwed the conduit to an open box behind the tv and a box with a cover on the side of the drywall. The exact products we used are linked in the post. Good luck with the installation!
Question: Does the big end of the cable go into the TV or the small end? They’re replacing our TV but we still have the cable. We can string the cable but need to know which end goes to the TV and which to the box. Thanks!
Please could you post the template to mount in a correct way the two brackets on the wall? We lost it and we can’t mount our tv.
Thanks so much
Hi, I’m so sorry but I no longer have the template.
Thanks for the awesome guide – we’re about to purchase a Frame TV and this was extremely helpful.
One clarification on the fiber optic cable – fiber optic cable poses zero fire risk as it carries no electrical current and generates no heat, so curious as to why you felt the need to run it through a conduit. In fact, the only risk (from what I’ve found) associated with working with fiber optic cable is potential damage to one’s eyes by looking into the end of a cable that’s currently in use. Thanks!
Hi – good question. I asked my husband, and he said we did it because the factory recommended it for use behind a wall.
@Jules Buono, thanks for the response! Our unit arrived, and it would appear that it’s in fact not just fiber optic, but also power, since there’s not a separate power cable for the Frame. Therefore, taking the necessary precautions (ex. conduit) makes more sense now. Thanks!
Thanks so much for following up with this info that can help others too!
@Cameron, The fiber optic cable also carries the AC power for the Frame TV. The cable is not shielded for in-wall installation. The Frame TV does not have a separate power cord.
@Cameron, this is an old comment but to clarify this is wrong. It is not just a fiber optic cable. It carries power from the one connect box to the tv. It is clearly stated in Samsung documentation that it is not rated for in wall use.
Thank you for your article, very helpful. Our 4 inch frame over our 65 inch The Frame completely covers the ambient light and motion sensors. As a result, art work is too dim when on and motion no longer turns on TV after a time out. So I had to manually increase brightness and find the switch to turn it on after a time out.
Samsung marketing: Please make your sensors detachable with a wire loop to accommodate frames. ( Will investigate next if that is already possible).
Question 1: Do I need to buy this SRS1 aftermarket product if I want to restore ambient and motion sensor function?
Question 2: Can I get a brighter picture and still use ambient light sensors? Right now, if the sun shines outside, pic is perfect. But at night, it’s too bright and needs manual intervention.
Thank you for your comments!
Peter,
Thanks for your detailed comment. I think the customer service at Deco TV Frames can probably answer these questions better than I can. I believe that answer to your first question is yes, but I don’t know your exact model, etc. As to your second question, our picture brightness seems to be working well so I don’t have a clear answer on that either. I’m sorry I can’t personally provide any better insight on these particular questions!
Awesome! Never knew about the deco frames. Just ordered samples and will purchase with your link
It makes SUCH a difference! Hope you enjoy your samples.
Hi,
It sounds like you all mounted your TV on drywall. Did you use the anchors that came with the TV to mount it on the drywall? The instructions provided didn’t seem to make sense (i.e. drilling a pilot hole for those anchors with a 1/8” drill bit–they look way too big for a 1/8″ bit).
We got lucky on a few holes and were able to screw into studs, but we had to anchor into the drywall for most holes. I do NOT recommend using the cheap anchors that are provided with the TV. As mentioned in the article, we used the Simpson Strong-Tie FT18250C10 anchors. They are rated to hold up to 188 lbs and are simple to use. There is a link in the article on where you can buy them through Amazon.
When you used passed the wire through that wall plate, did the TV remain flush or did it stick out a little bit? Seems like that plate would make it kick out a tiny bit. I want mine FLUSH. They should sell a flush wall plate! I am installing above a new fireplace that is a gas and totally enclosed so not as big of an issue as a ‘real’ fireplace but still trying to stay with code.
Hi Cameron, I consulted with my husband, and he said the following:
We did not use a wall plate for the box behind the TV. I screwed the conduit to the side of the box to keep it secure, but I left the box open to allow the one-connect cable to move freely as we mounted the TV to the wall. You will want to give yourself a foot of slack on the cable or mounting will be really difficult.
There is a gap behind the TV that I think could accommodate a low-profile wall plate, but I don’t know what purpose that would serve as you won’t be able to see it behind the TV.
This is SO helpful! Yours is the only tutorial with the instructions that match my actual mounts! Just one question though, (and so sorry to bother!) but where do the screws that are attached into the TV “sit” in the wall plate bracket?! Before you mount it, it seems like they should slide down into the bottom of the downward slope in order to lock into place… but that’s counter intuitive once you think about it, as they are both sloping in & down! Am I losing my mind?! Do the screws just sit at the top of the the large opening part? If you are able to help, I greatly appreciate it!
I feel your pain — we couldn’t find any tutorials that matched our wall mounts either! You are correct that the screws on the tv slide down then lock into place. You can hear a bit of a click when this occurs. Good luck!
@Kiki, the slope up and slope down slots are designed to help you do a final level of the TV. Once on the wall you can get a level and slide the tv up or down to get perfectly level, if required.
Hello Jules and thank you very much for the guide and especially the photos ! You saved me through a lot of pain trying to explain to Dixons customer support here in Greece why the wall mount for my 43” was incomplete.
For that reason alone i beleive Samsung in every local country site should have a link back to your site to ease the temporary frustration every owner of at least our model has after unboxing.
Also your suggestions for art customizations are excellent !
God bless you !!!
I’m so happy this was helpful! I agree it is so stressful to figure out the guide that comes with the TV. Enjoy your Frame TV!!
Hi Jules – maybe you can help! We have a concrete fireplace and the contractor has put an electrical outlet right behind where the TV would go above the mantle (this is in Mexico:) Not much option to change this at this point. When installing the frame tv, I am thinking we will need to buy a wall mount that gives a bit more space behind it to allow for the electical plug…am I thinking correctly?? Thanks! Lani
Hi Lani, I checked with my husband who was really the brains behind our installation and here’s what he said:
We are amateur DIY-ers, so we’re not really qualified to make those types of recommendations. However, if your preexisting box is positioned differently than where the One Connect cable goes into the back of TV, then you will need to leave space for the cable (or the bolts won’t fit into the mounting brackets). The cable is not very thick, so it won’t have to be too much. If it were me, I’d put some spacers behind the mounting bracket to get the brackets to stick out of the wall far enough to fit the One Connect cable.
I was really confused when i opened the box to see that the wall mount was nothing like what was shown on the samsung youtube channel or many other channels. However this guide has shown that i am not alone and the wall mount for this model is different from its larger versions.
Thanks!
I’m so glad this helped! I can’t tell you how much time we spent trying to figure out why our parts didn’t match the videos, so your comment is exactly why we decided to write this post! I hope you enjoy your Frame TV.